Barista-worthy Steamed Milk : Microfoam for Beginners

There’s no experience more decadent than drinking a well-crafted latte. A good latte merries a perfectly pulled shot of espresso and textured milk. But textured milk is easier said than done. That’s why baristas painstakingly steam your milk to perfection. Properly steamed micro-foam isn’t thick and foamy; it’s creamy and velvety, and its sweetness complements the espresso perfectly. Follow the instructions below, a guide to create microfoam for beginners.

Proper microfoam is essential for latte art. At its core, latte art is an indication of a well-made drink. Both the espresso shot and the milk have to be executed properly, or you won’t get that beautiful latte art. The visual appeal of latte art will keep your customers coming back for more. As a barista, it’s a fun challenge that keeps you on your toes.
A note about foam
There are two main ideologies in the coffee world: Italian-style or “old-school” coffee, and third wave coffee. A lot of people order a cappuccino, expecting to see a thick cloud of foam on top. This is also referred to as a “bone-dry” cappuccino. When they get their microfoam cappuccino, they’re disappointed, and it’s not what they pictured.
The old-school coffee ideology is respected in its own right. But in this article, we’re talking about third wave coffee, to which flat microfoam is central.
What is microfoam?
Microfoam is a method of steaming milk where you inject tons of tiny bubbles into the milk, creating a textured milk. The bubbles run all throughout the milk, instead of the foam and the milk being separate from one another. Rather than having a thick foamy milk that plops right on top of your espresso, you get a continuous flow. This opens the door to latte art, and mastering microfoam lets baristas create rosettas, tulips, and even swans!
In addition, microfoam isn’t hot; it’s warm. Dairy milk has natural sugars (lactose) which complement the sweetness of espresso. Heating up your milk too much can burn and effectively destroy those natural sugars. You should aim for 120-140 degrees F. To get that optimal warm temperature, place your palm on the side of the metal pitcher while steaming. As soon as you feel warmth, stop steaming immediately. You can use a thermometer, but your hand is more intuitive.

How to make microfoam for beginners
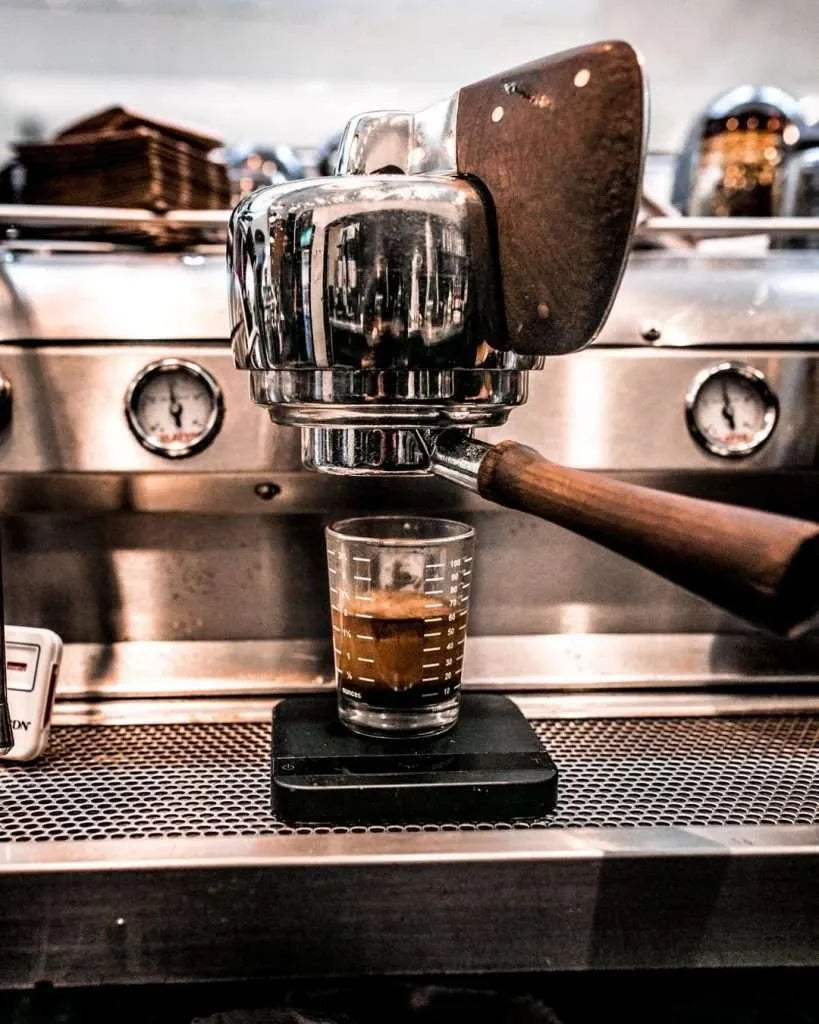
To make proper microfoam, you’ll need a high-quality espresso machine with a precision steam wand. Pour your milk into a metal steaming pitcher until it’s about a centimetre below the spout. Place the pitcher at an angle, leaning down slightly to your right. Before you start steaming, lift the milk pitcher up to the steam wand. The steam wand should be slightly below the surface of the milk, about a centimetre.
Turn your steam wand on. If you’re at the correct angle, you should create a vortex effect. If you don’t see this affect, don’t panic. Gently move the pitcher side to side (not up and down), making sure the steam wand is just below the surface. Keep steaming until it starts to feel warm, not hot. Immediately switch the steam wand off.

The sound (or lack thereof) is everything. If the steam wand is too close to the surface, you’ll get a high-pitched screeching sound. If it’s too submerged, you’ll get a loud, low rumbling sound. If it’s in the right spot, it’ll make practically no sound at all.
It’s normal to get a few big bubbles. Let your milk sit for a few seconds and tap out the big bubbles on a hard surface before pouring.
How to make latte art with microfoam
This is probably the hardest part. Latte art takes practise. If all you can manage is a heart, you should call that a win!
Try to get better at microfoam before attempting latte art. You can’t make latte art if your microfoam is thick and foamy. It has to be thin and glossy, similar to wet paint in texture and viscosity.
Pour your microfoam directly over the espresso in a circular motion. Once your cup is about ⅔ full, pause your pour. This is when you’ll start your latte art.
Get the spout of the pitcher closer to your latte, and pour while rapidly swiveling the pitcher left and right, about half a centimeter apart.

Pro tip:
Pour a bit of microfoam in the espresso, stir it with a spoon, and then pour the rest of the milk. This helps prevent a bitter taste upon the first sip. The crema layer from the espresso is quite bitter, and it rises to the top when you do latte art. Integrating it early on disperses that bitter top layer.
Practising microfoam
Instead of wasting milk to practise your microfoam, practise with a pitcher of water with a drop of dish soap. When steamed, it creates a similar texture. It helps you gauge the correct position of the pitcher and the steam wand. It also helps you practise co-ordinating when to turn off the steam wand, which can be tricky at first.

Making microfoam with non dairy milk
Non-dairy milk doesn’t perform as well as dairy milk when steamed, but there are ways to improve the texture. Steam your non-dairy milk more vigorously than you would with regular milk. Because they have less fat content and are more watery, they heat up quicker, meaning you have to work quicker. After steaming, let it sit for a while to let bigger bubbles come to the surface. Then, tap the pitcher firmly on a hard surface to let the bubbles out and swirl vigorously to integrate.
Don’t cry over spilt milk
Creating that perfect microfoam can be frustrating at first. There are several factors that you have to be aware of, all at the same time. This includes the angle of the milk pitcher, proper submersion of the wand, temperature, and wand shut-off. It doesn’t help that a big, roaring espresso machine can be a little daunting to a newbie barista. But if you don’t get it perfect at first, the most important thing is that you try. Customers can taste care in a cup.
Looking to open a coffee shop, or just need a tune-up for your team of baristas? Get in touch with us about our cafe consultations, and drop us a line at info@fratellocoffee.com.


